

How to Install Short Rail Metal Roof Mounting Structures for Solar Panels

A properly installed short rail mounting system provides secure panel attachment while maintaining roof integrity, weather resistance, and long-term structural performance.
1. Understand the Short Rail Metal Roof Mounting System
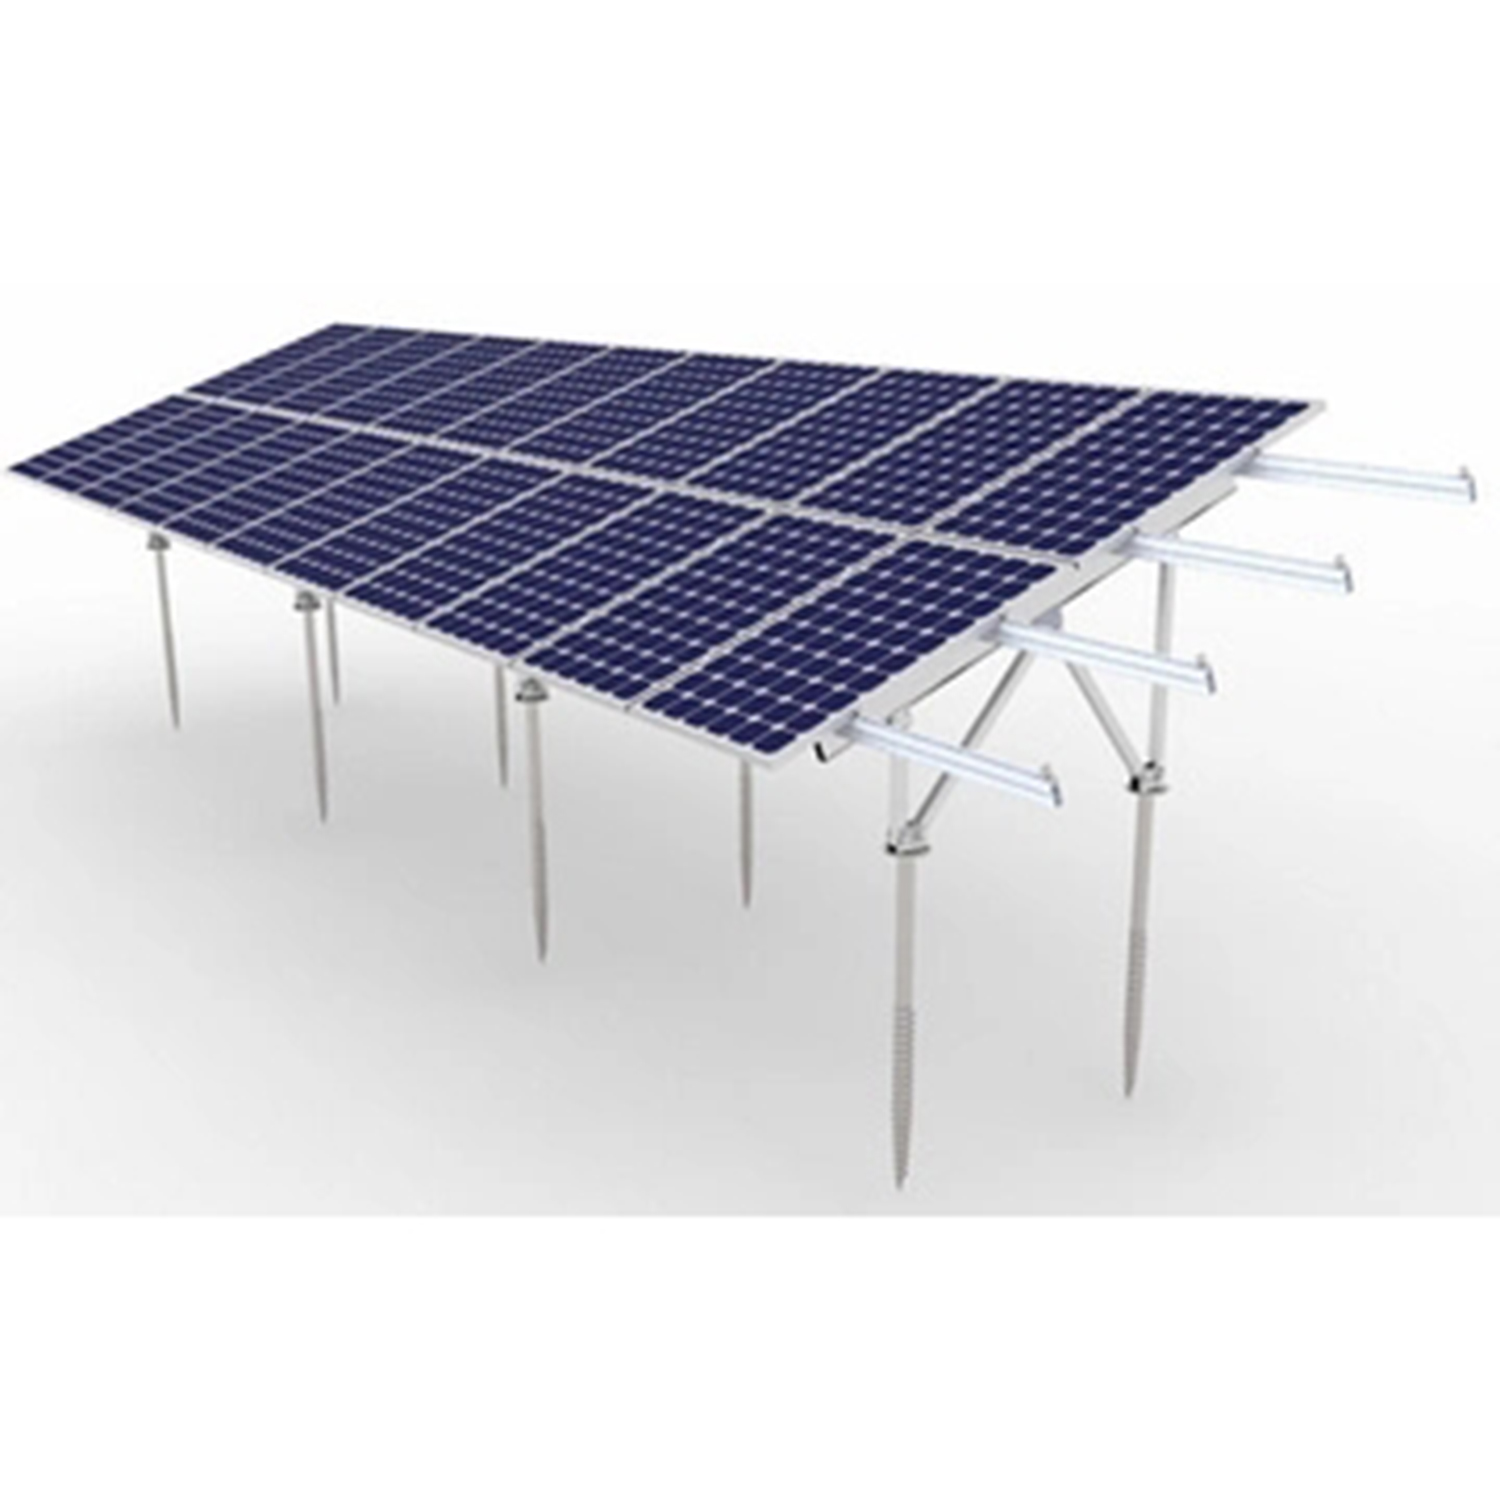
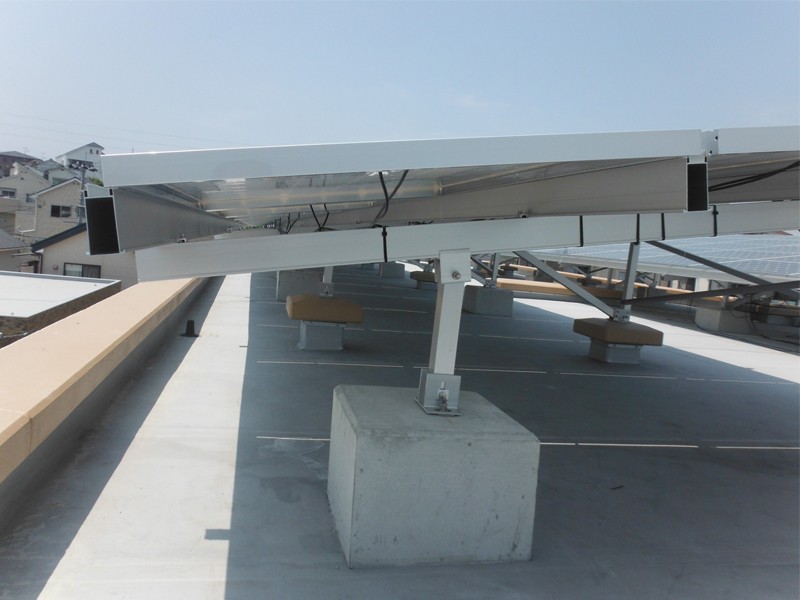
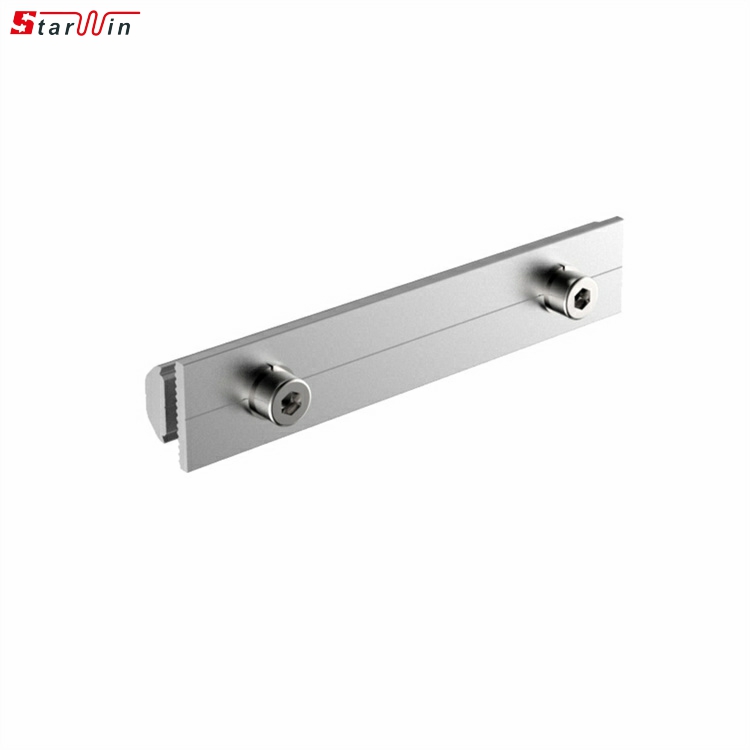
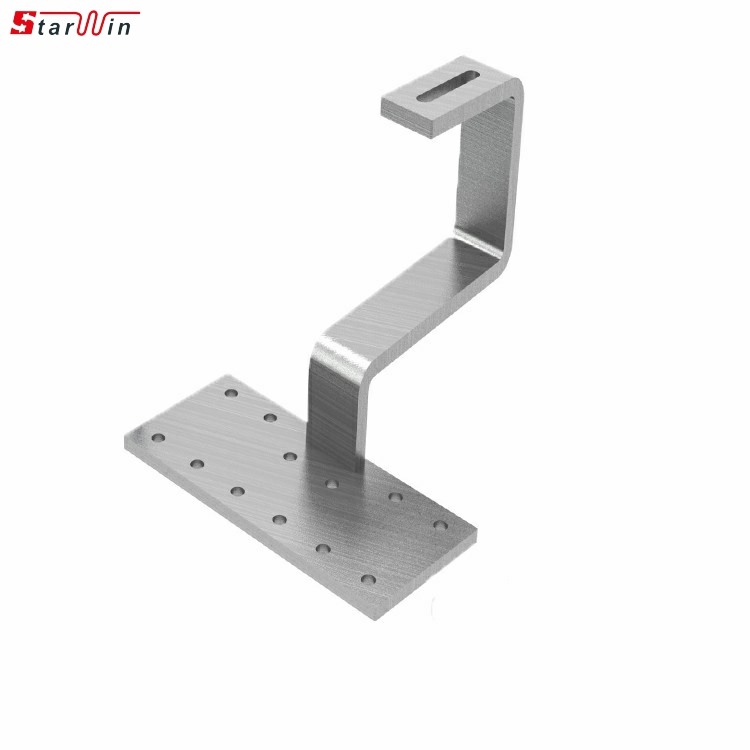
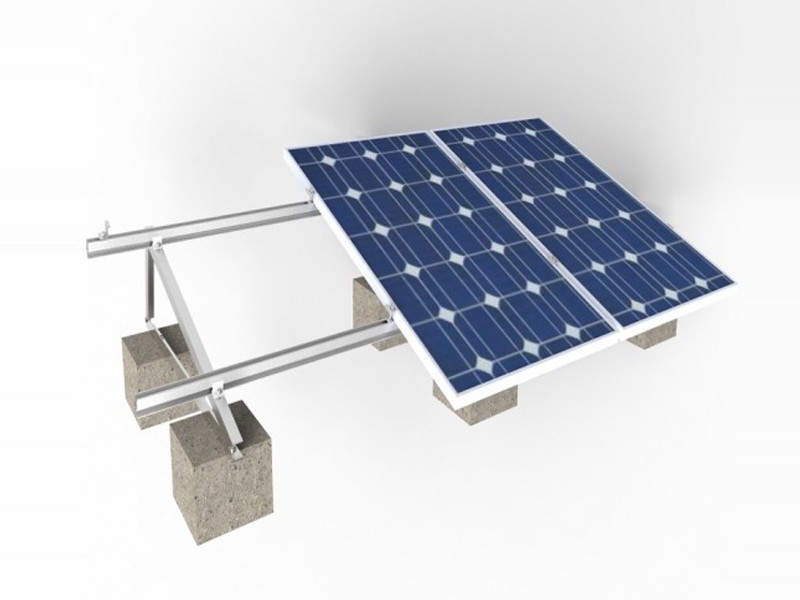
A short rail solar mounting structure usually consists of: Short aluminum rails,Roof attachment brackets,L-feet or mounting feet,Self-tapping screws or fasteners.EPDM waterproof seals,Module clamps,Rail connectors (if required),Grounding and bonding components
The short rails act as connection points between the roof and the solar modules. Instead of continuous rails running across the entire array, multiple short sections support the panels at specific mounting locations.
2. Prepare Before Installation ,Review the Roof Structure,Before installation, inspect the roof carefully.
Check:Roof material type,Roof thickness,Structural framing location,Roof age and condition,Existing damage or corrosion,Available installation area
The roof must be strong enough to support:Solar module weight,Mounting structure weight,Wind uplift forces,Snow loads
Confirm System Design
Review the engineering drawings and installation plan, including:Panel layout,Mounting point locations,Rail spacing,Tilt angle (if applicable),Fastener specifications,Wind and snow load requirements
Incorrect mounting locations can reduce structural strength and may damage the roof.
3. Mark the Installation Layout
Accurate marking is essential for proper alignment.Steps:Measure the roof area.Determine the position of each solar module.Mark mounting points according to the design drawing.Ensure spacing between panels is consistent.Confirm alignment with roof seams or purlins where required.
Use chalk lines or laser tools to keep mounting points straight.
4. Install Roof Mounting Brackets
The bracket type depends on the metal roof design.
A. Corrugated Metal Roof
Typical installation:Locate the roof structural supports.Position the mounting bracket over the correct area.Drill pilot holes if required.Apply waterproof sealant.Install screws with EPDM washers.Tighten fasteners according to manufacturer specifications.
The EPDM seal prevents water penetration around the screw location.
B. Standing Seam Metal Roof
For standing seam roofs, clamp-based systems are commonly used.
Installation:Position clamps over the roof seam.Attach clamps without drilling holes.Tighten clamp bolts.Verify the clamp grips the seam securely.Advantages:No roof penetrationReduced leakage risk,Faster installation

5. Install Short Rails
After roof brackets are installed, attach the short rails.
Steps:Place the short rail onto the mounting feet.Align rails horizontally and vertically.Secure rails using bolts or fasteners.Check rail spacing according to the solar module specifications.Confirm all rails are level.
Important checks: Rail alignment, Correct spacing, Proper bolt tightening, No deformation of aluminum components
6. Install Solar Panel Clamps
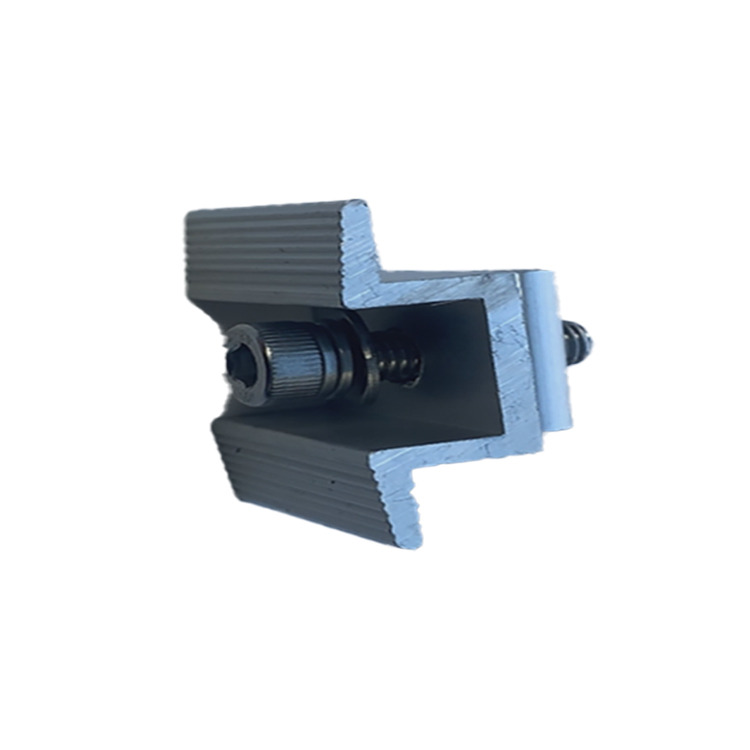
Short rail systems normally use aluminum clamps to secure PV modules.
End Clamps
Used at the outside edges of the array.Installation:Place the first solar panel on the rail.Insert end clamps.Adjust panel position.Tighten clamps.
Mid Clamps
Used between adjacent panels.Installation:Position the second panel beside the first.Insert mid clamps between panels.Maintain the required panel gap.Tighten securely.
Do not overtighten clamps, as excessive pressure may damage the module frame.
7. Install Solar Modules
Panel installation steps:Lift modules carefully onto the mounting structure.Place panels according to the layout.Secure modules using clamps.Connect module cables.Organize cables using clips or cable management systems.
During installation:Do not walk on solar panels.Avoid dropping tools onto modules.Keep connectors clean and dry.Protect the roof surface from damage.
8. Waterproofing Considerations
Maintaining roof waterproofing is one of the most important parts of metal roof solar installation.
Best practices:Use approved waterproof fasteners.Install EPDM washers correctly.Apply compatible sealants where required.Avoid unnecessary roof penetrations.Do not overtighten screws, which may damage seals.For metal roofs, improper installation can cause:Water leakage,Corrosion around fasteners,Roof damage,Reduced system lifespan
9. Grounding and Electrical Bonding
A complete solar mounting system requires proper grounding.
Steps:Install bonding clips between rails and modules.Connect aluminum components electrically.
Install grounding conductors.Verify continuity.Connect the mounting system to the building grounding system.Using compatible materials is important because aluminum and other metals can experience galvanic corrosion when improperly connected.
10. Final Inspection
Before the system is commissioned, inspect the entire installation.
Mechanical InspectionCheck:All fasteners are tightened,Rails are aligned,Modules are secure
Brackets are properly attached,No roof damage exists
Waterproof Inspection,Verify:No damaged roof sheets,Correct sealing around penetrations,Proper gasket installation,Electrical Inspection,Check:Grounding continuity,Cable routing,Connector connections,Module polarity
Common Installation Mistakes to Avoid Attaching to Weak Roof Areas
Mounting only to roof sheets without structural support may not withstand wind loads.
Solution: Attach to approved structural members or use engineered mounting methods.
Incorrect Screw Installation
Problems include:Over-tightening,Under-tightening,Missing sealing washers
Solution: Follow specified torque requirements.
Poor Rail Alignment,Misaligned rails can make panel installation difficult and create uneven loading.
Solution: Measure carefully before fixing rails. Mixing Incompatible Metals
Direct contact between aluminum and certain metals can accelerate corrosion.
Solution: Use approved fasteners and isolation materials.
Ignoring Roof Expansion
Metal roofs expand and contract with temperature changes.
Solution: Use mounting components designed to accommodate thermal movement.
Advantages of Short Rail Metal Roof Mounting Systems
Faster Installation Fewer components and shorter rails reduce installation time.
Lower Material Usage Less aluminum is required compared with traditional rail systems.
Lightweight DesignReduces additional roof loading.
Flexible Layout Suitable for different metal roof profiles.
Cost Efficiency Lower material and labor costs for many rooftop projects.
Applications ,Short rail metal roof mounting structures are commonly used for:Commercial rooftop solar systems,Industrial buildings,Warehouses,Agricultural buildings,Residential metal roofs,Factory solar installations
Conclusion
Short rail metal roof mounting structures provide an efficient and reliable method for installing solar panels on metal roofing systems. Successful installation depends on accurate layout planning, correct attachment methods, proper waterproofing, and careful attention to structural requirements. When installed according to engineering specifications, short rail systems can provide decades of safe and stable solar panel support while preserving the performance and integrity of the metal roof.