The Ultimate Guide to Solar Tile Roof Mounting Systems: A Reliable Solution for Your Solar Energy Needs
With the increasing demand for sustainable energy, solar tile roof mounting systems have become an essential solution for homeowners and businesses looking to install solar panels on tiled roofs. Whether you have clay, concrete, or slate tiles, choosing the right solar mounting system ensures the longevity and efficiency of your solar power setup.
In this article, we’ll explore the benefits of solar tile roof mounting systems, how to select the best system for your needs, and what to consider during installation. We’ll also introduce high-quality solutions, including tile roof solar mounting systems and photovoltaic rooftop mount systems, to help you make an informed decision.

Why Choose a Solar Tile Roof Mounting System?
1. Designed Specifically for Tiled Roofs
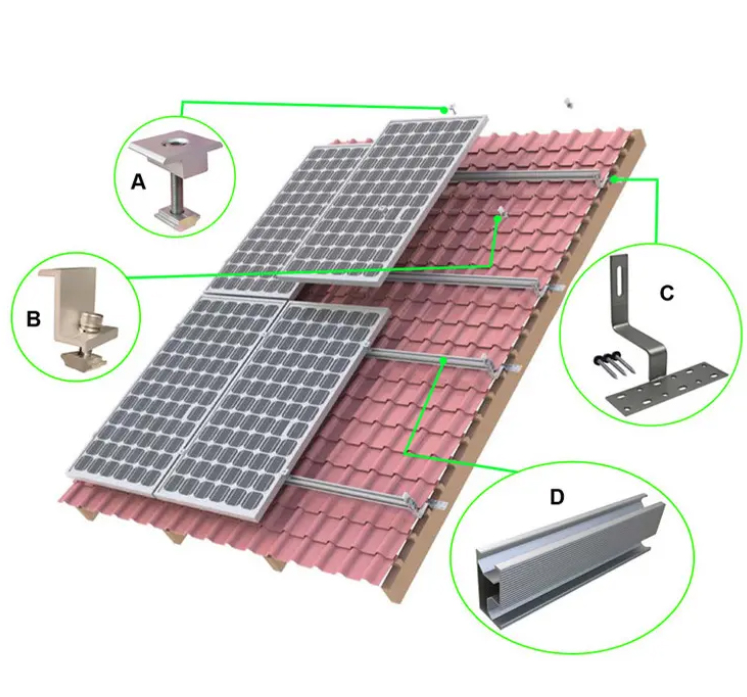
Unlike traditional solar mounting solutions, solar tile roof mounting systems are designed to accommodate the unique structure of tile roofs. These systems prevent damage to the tiles while ensuring a secure and stable installation.
2. Enhanced Durability and Protection
Quality solar mounting systems provide strong resistance against harsh weather conditions, including high winds and heavy snowfall. They also include protective features that prevent tile breakage, ensuring a long-lasting solar energy setup.
3. Optimized Energy Efficiency
With properly installed solar panel tile roof mounting systems, you can achieve maximum energy efficiency by positioning the panels at the best angle for sunlight exposure. This results in higher solar power generation and greater savings on electricity bills.
4. Easy Maintenance and Longevity
A well-designed solar tile roof mounting system minimizes the need for frequent maintenance. High-quality materials such as aluminum and stainless steel ensure durability and long-term reliability.
To explore the best solutions, check out our solar tile roof mounting system for high-performance solar panel installations on tile roofs.
Key Factors to Consider When Choosing a Solar Tile Roof Mounting System
1. Compatibility with Different Tile Types
Solar mounting systems should be compatible with various roof tiles, such as:
Clay tiles – Traditional and fragile, requiring specialized hooks and brackets.
Concrete tiles – More durable but still need careful installation.
Slate tiles – Require non-intrusive mounting solutions to avoid breakage.
When selecting a system, consider our photovoltaic rooftop mount systems, which are designed for compatibility with different tile types.
2. Secure Mounting Options
There are different methods for securing solar panels on tiled roofs:
Tile hooks – Installed under the tiles for a non-invasive, secure hold.
Flashing systems – Provide additional waterproofing protection.
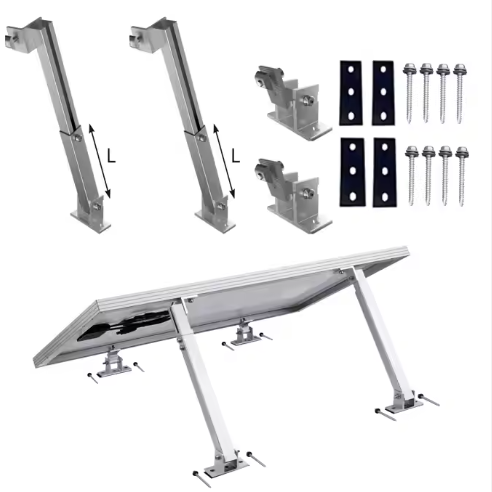
Adjustable brackets – Allow for precise positioning of solar panels.
3. Waterproofing and Leak Prevention
Proper installation prevents leaks and structural damage. A high-quality solar panel tile roof mounting system should include flashing and sealing components to protect your roof.
For a premium solution, check out our solar panel tile roof mounting system – factory direct sale bracket for durable and waterproof performance.
Installation Guide: How to Properly Install a Solar Tile Roof Mounting System
Step 1: Roof Inspection and Preparation
Before installing, inspect the roof structure to ensure it can support the weight of the solar panels and mounting system. Replace any damaged or fragile tiles before proceeding.
Step 2: Choosing the Right Mounting System
Select a solar mounting system based on tile type, roof angle, and climate conditions. Ensure that the brackets and hooks fit securely under or around the tiles without causing damage.
Step 3: Attaching Tile Hooks and Brackets
Carefully lift tiles where the mounting hooks will be placed.
Install the hooks securely to the roof structure without cracking the tiles.
Replace the tiles over the hooks and ensure a flush fit.
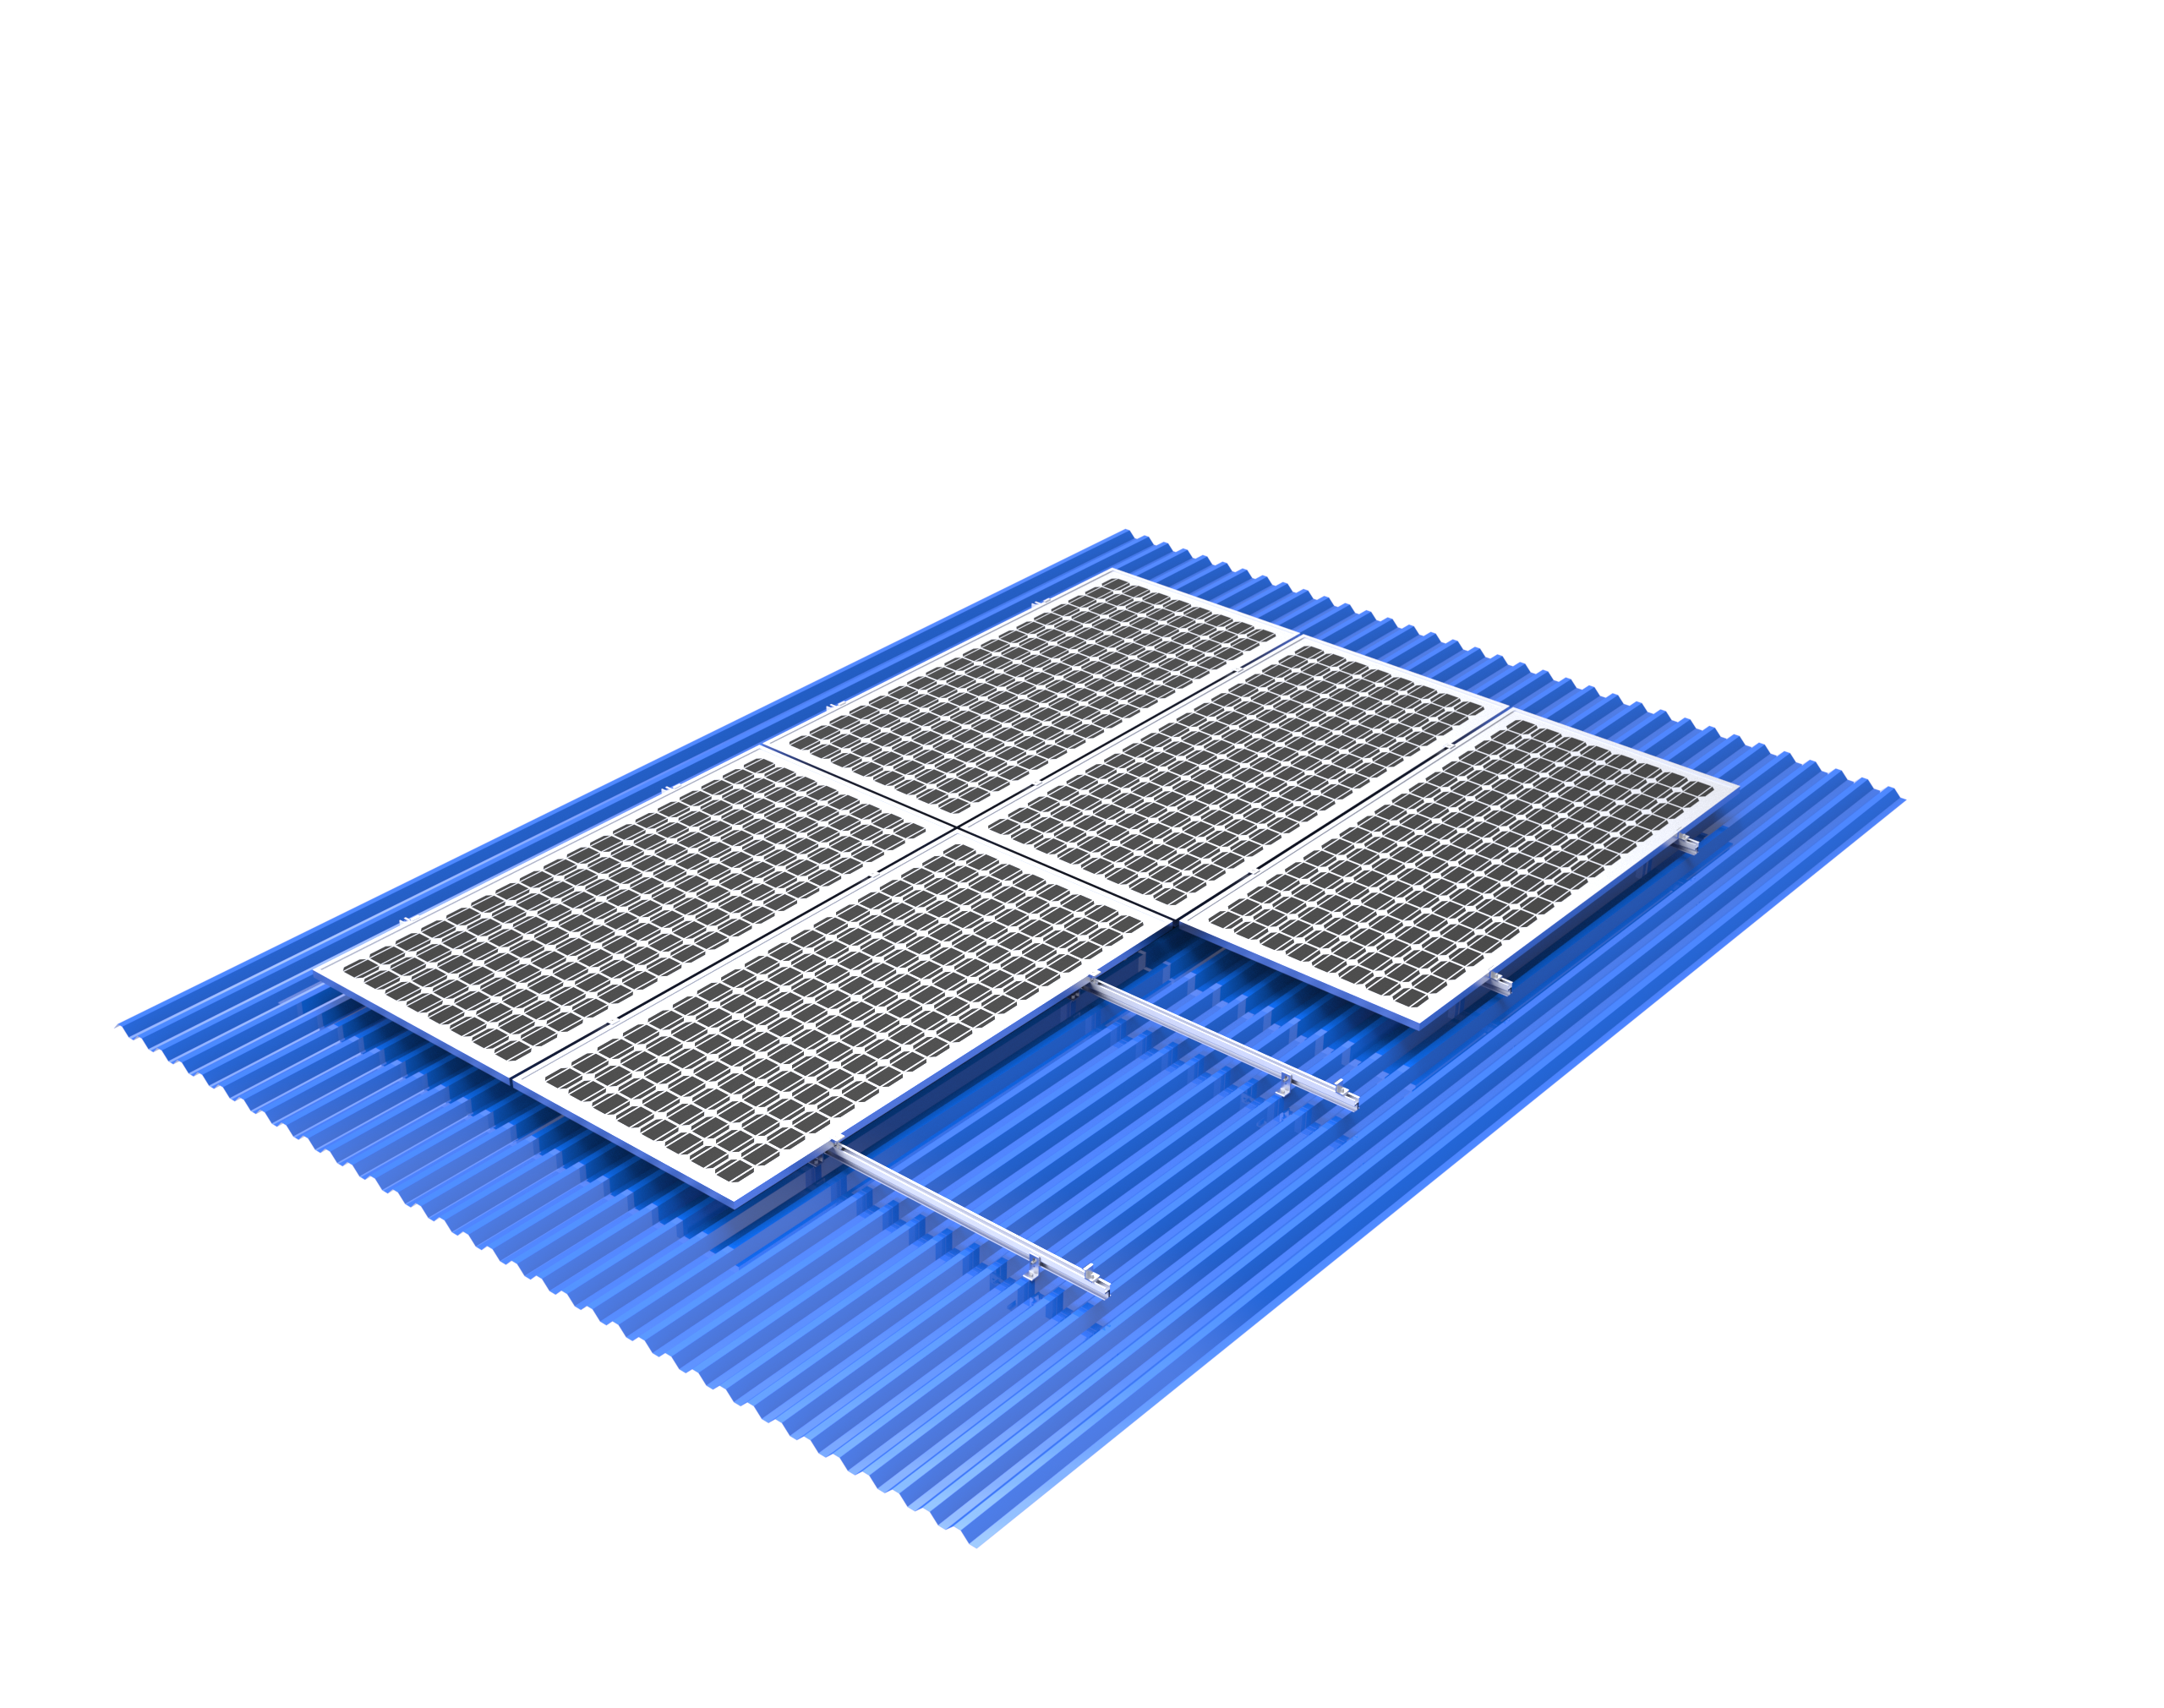
Step 4: Installing Rails and Solar Panels
Attach aluminum rails to the hooks or brackets.
Secure solar panels onto the rails using clamps and ensure proper alignment.
Double-check tightness and positioning to maximize solar exposure.
Step 5: Final Checks and System Connection
Inspect for stability and waterproofing integrity.
Connect the solar panels to the inverter and electrical system.
Test the system to ensure optimal performance.
For a complete and secure installation, browse our solar tile roof mounting system for the best-in-class solar roof solutions.
Conclusion: Upgrade Your Tiled Roof with a Reliable Solar Mounting System
Investing in a solar tile roof mounting system is an excellent way to harness solar energy while preserving the integrity of your tiled roof. By choosing the right mounting system, you can ensure a secure, durable, and energy-efficient solar installation.
For high-quality solutions, explore our:
✅ Tile Roof Solar Mounting System – Ideal for residential and commercial solar projects.
✅ Photovoltaic Rooftop Mount Systems – Designed for easy and reliable installation.
✅ Solar Panel Tile Roof Mounting System – Factory Direct Sale Bracket – High-performance solution for all tile roof types.
Start your solar journey today with a trusted solar tile roof mounting system and enjoy long-term energy savings and sustainability!
