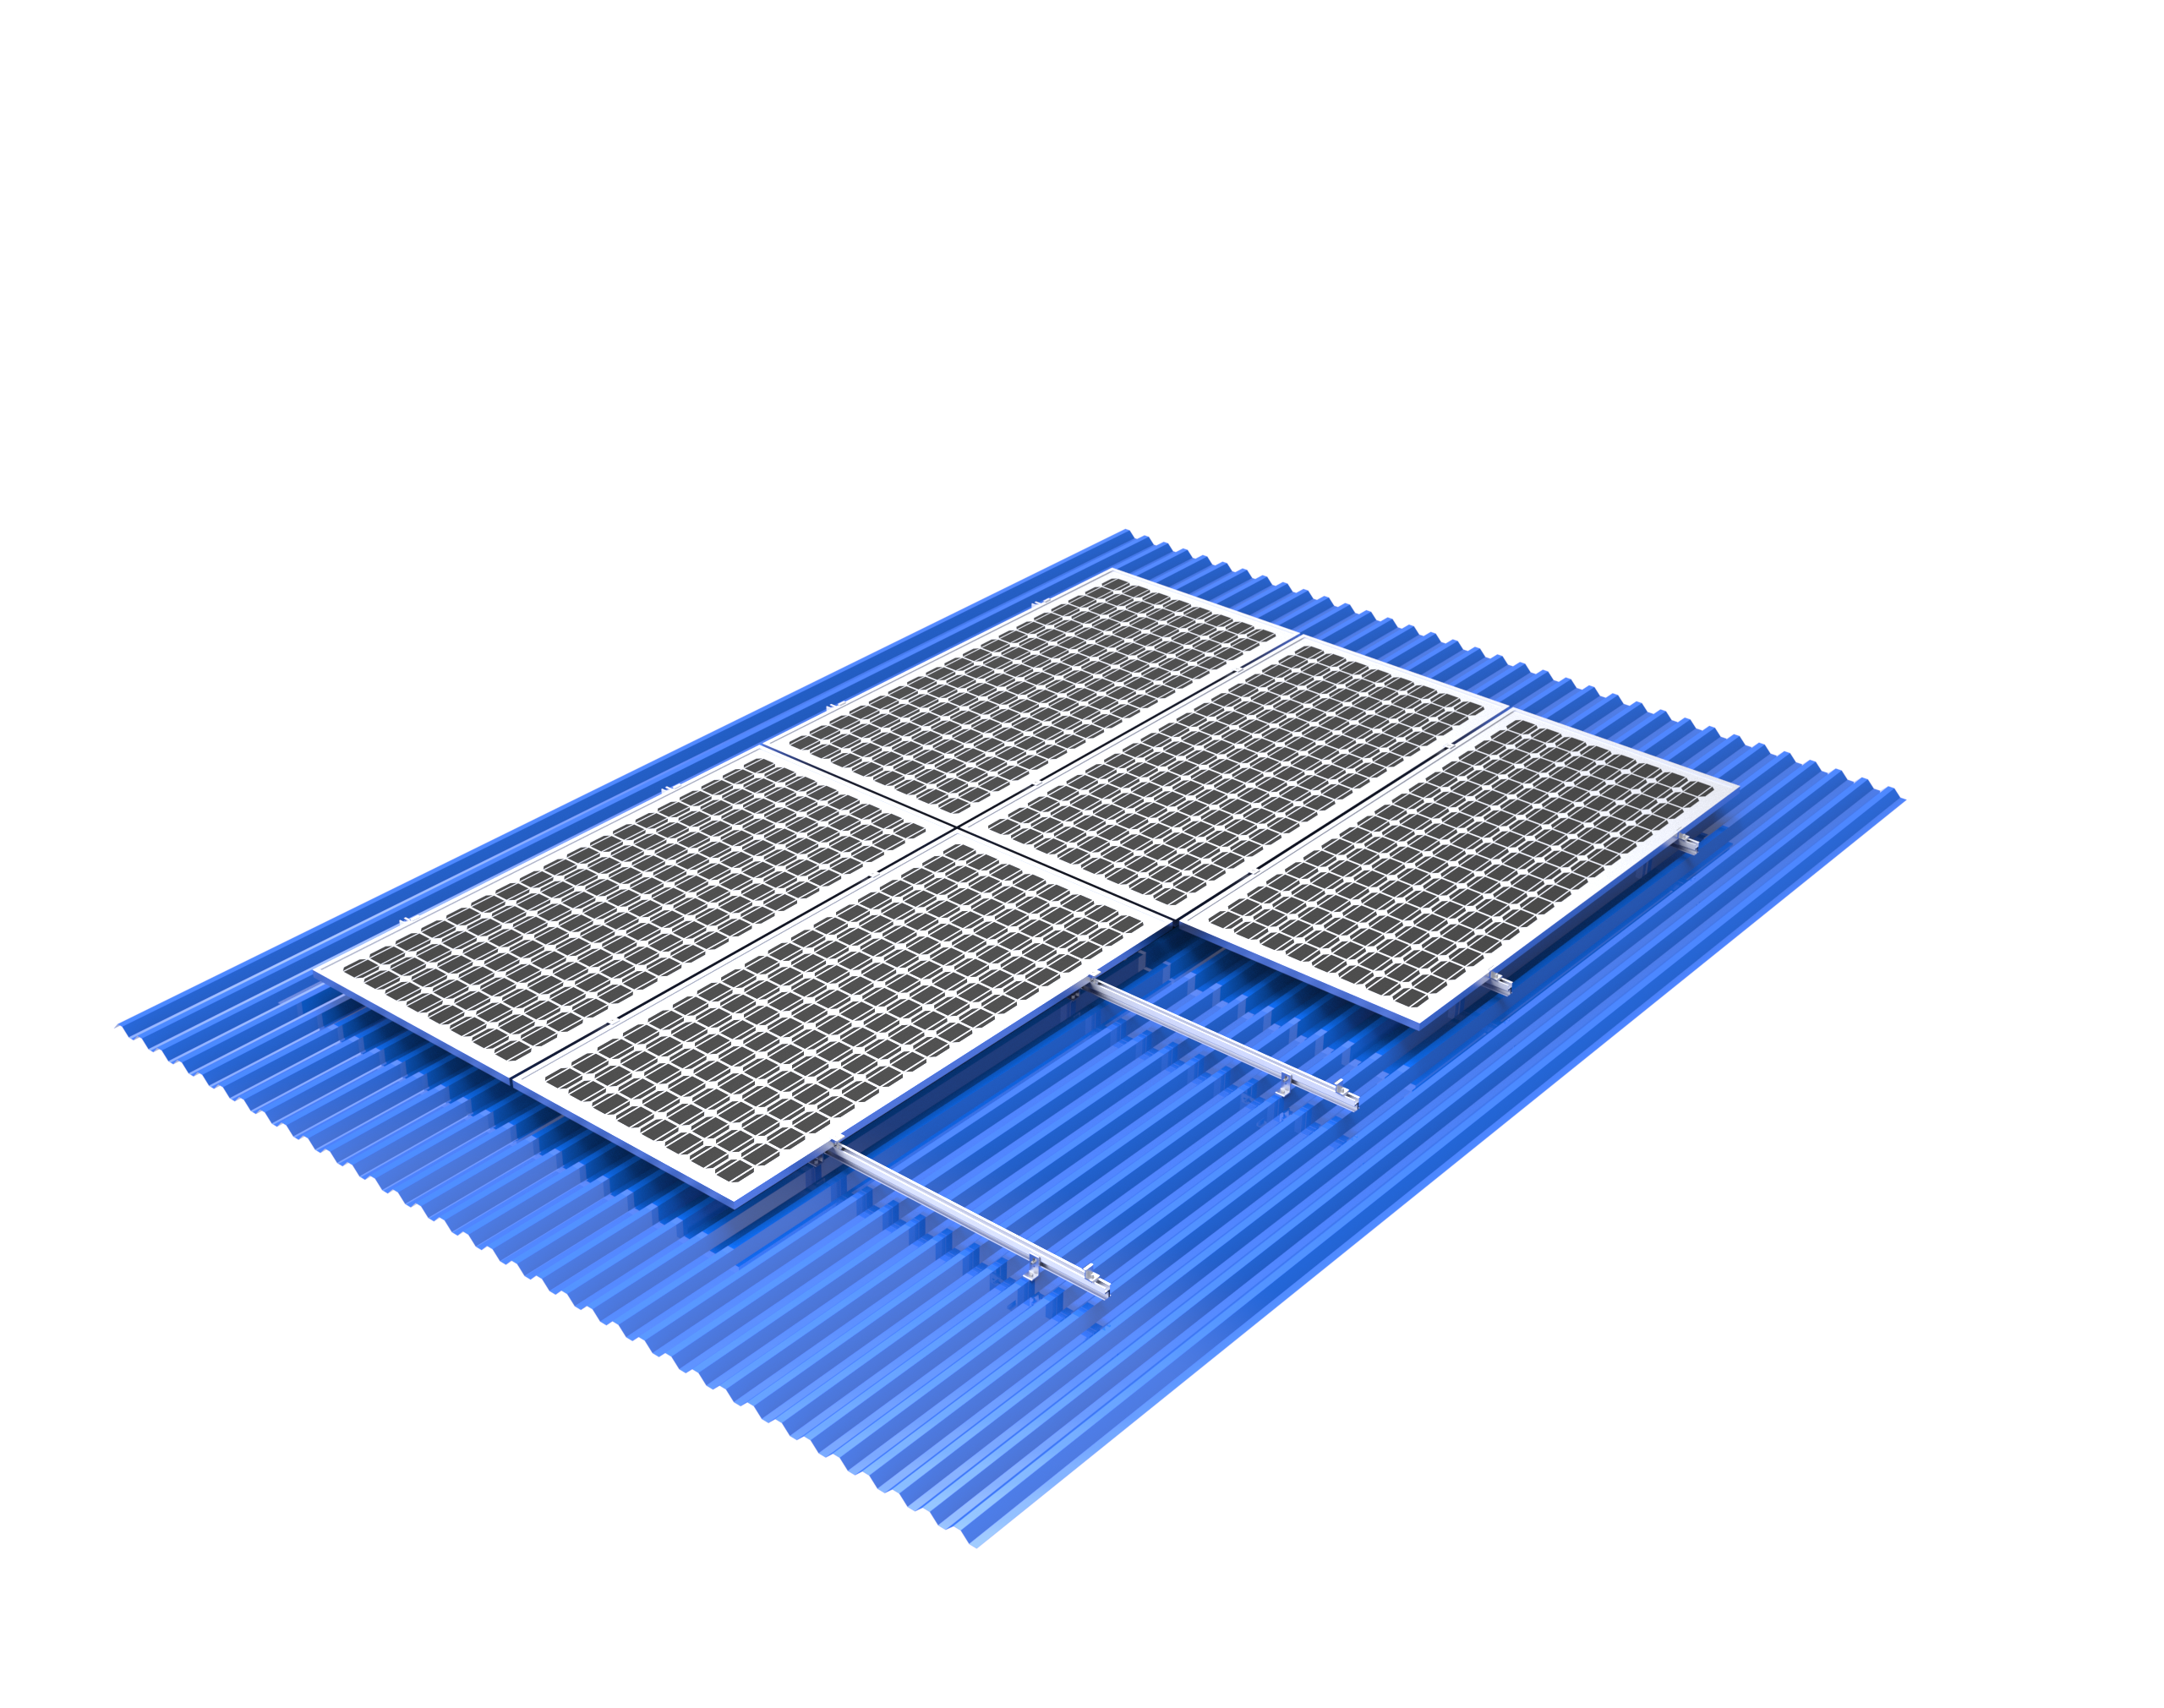
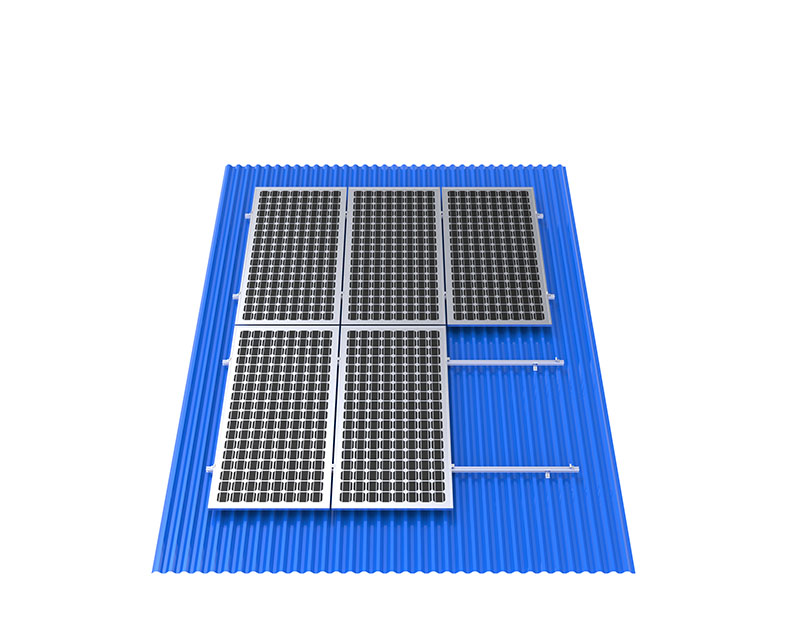
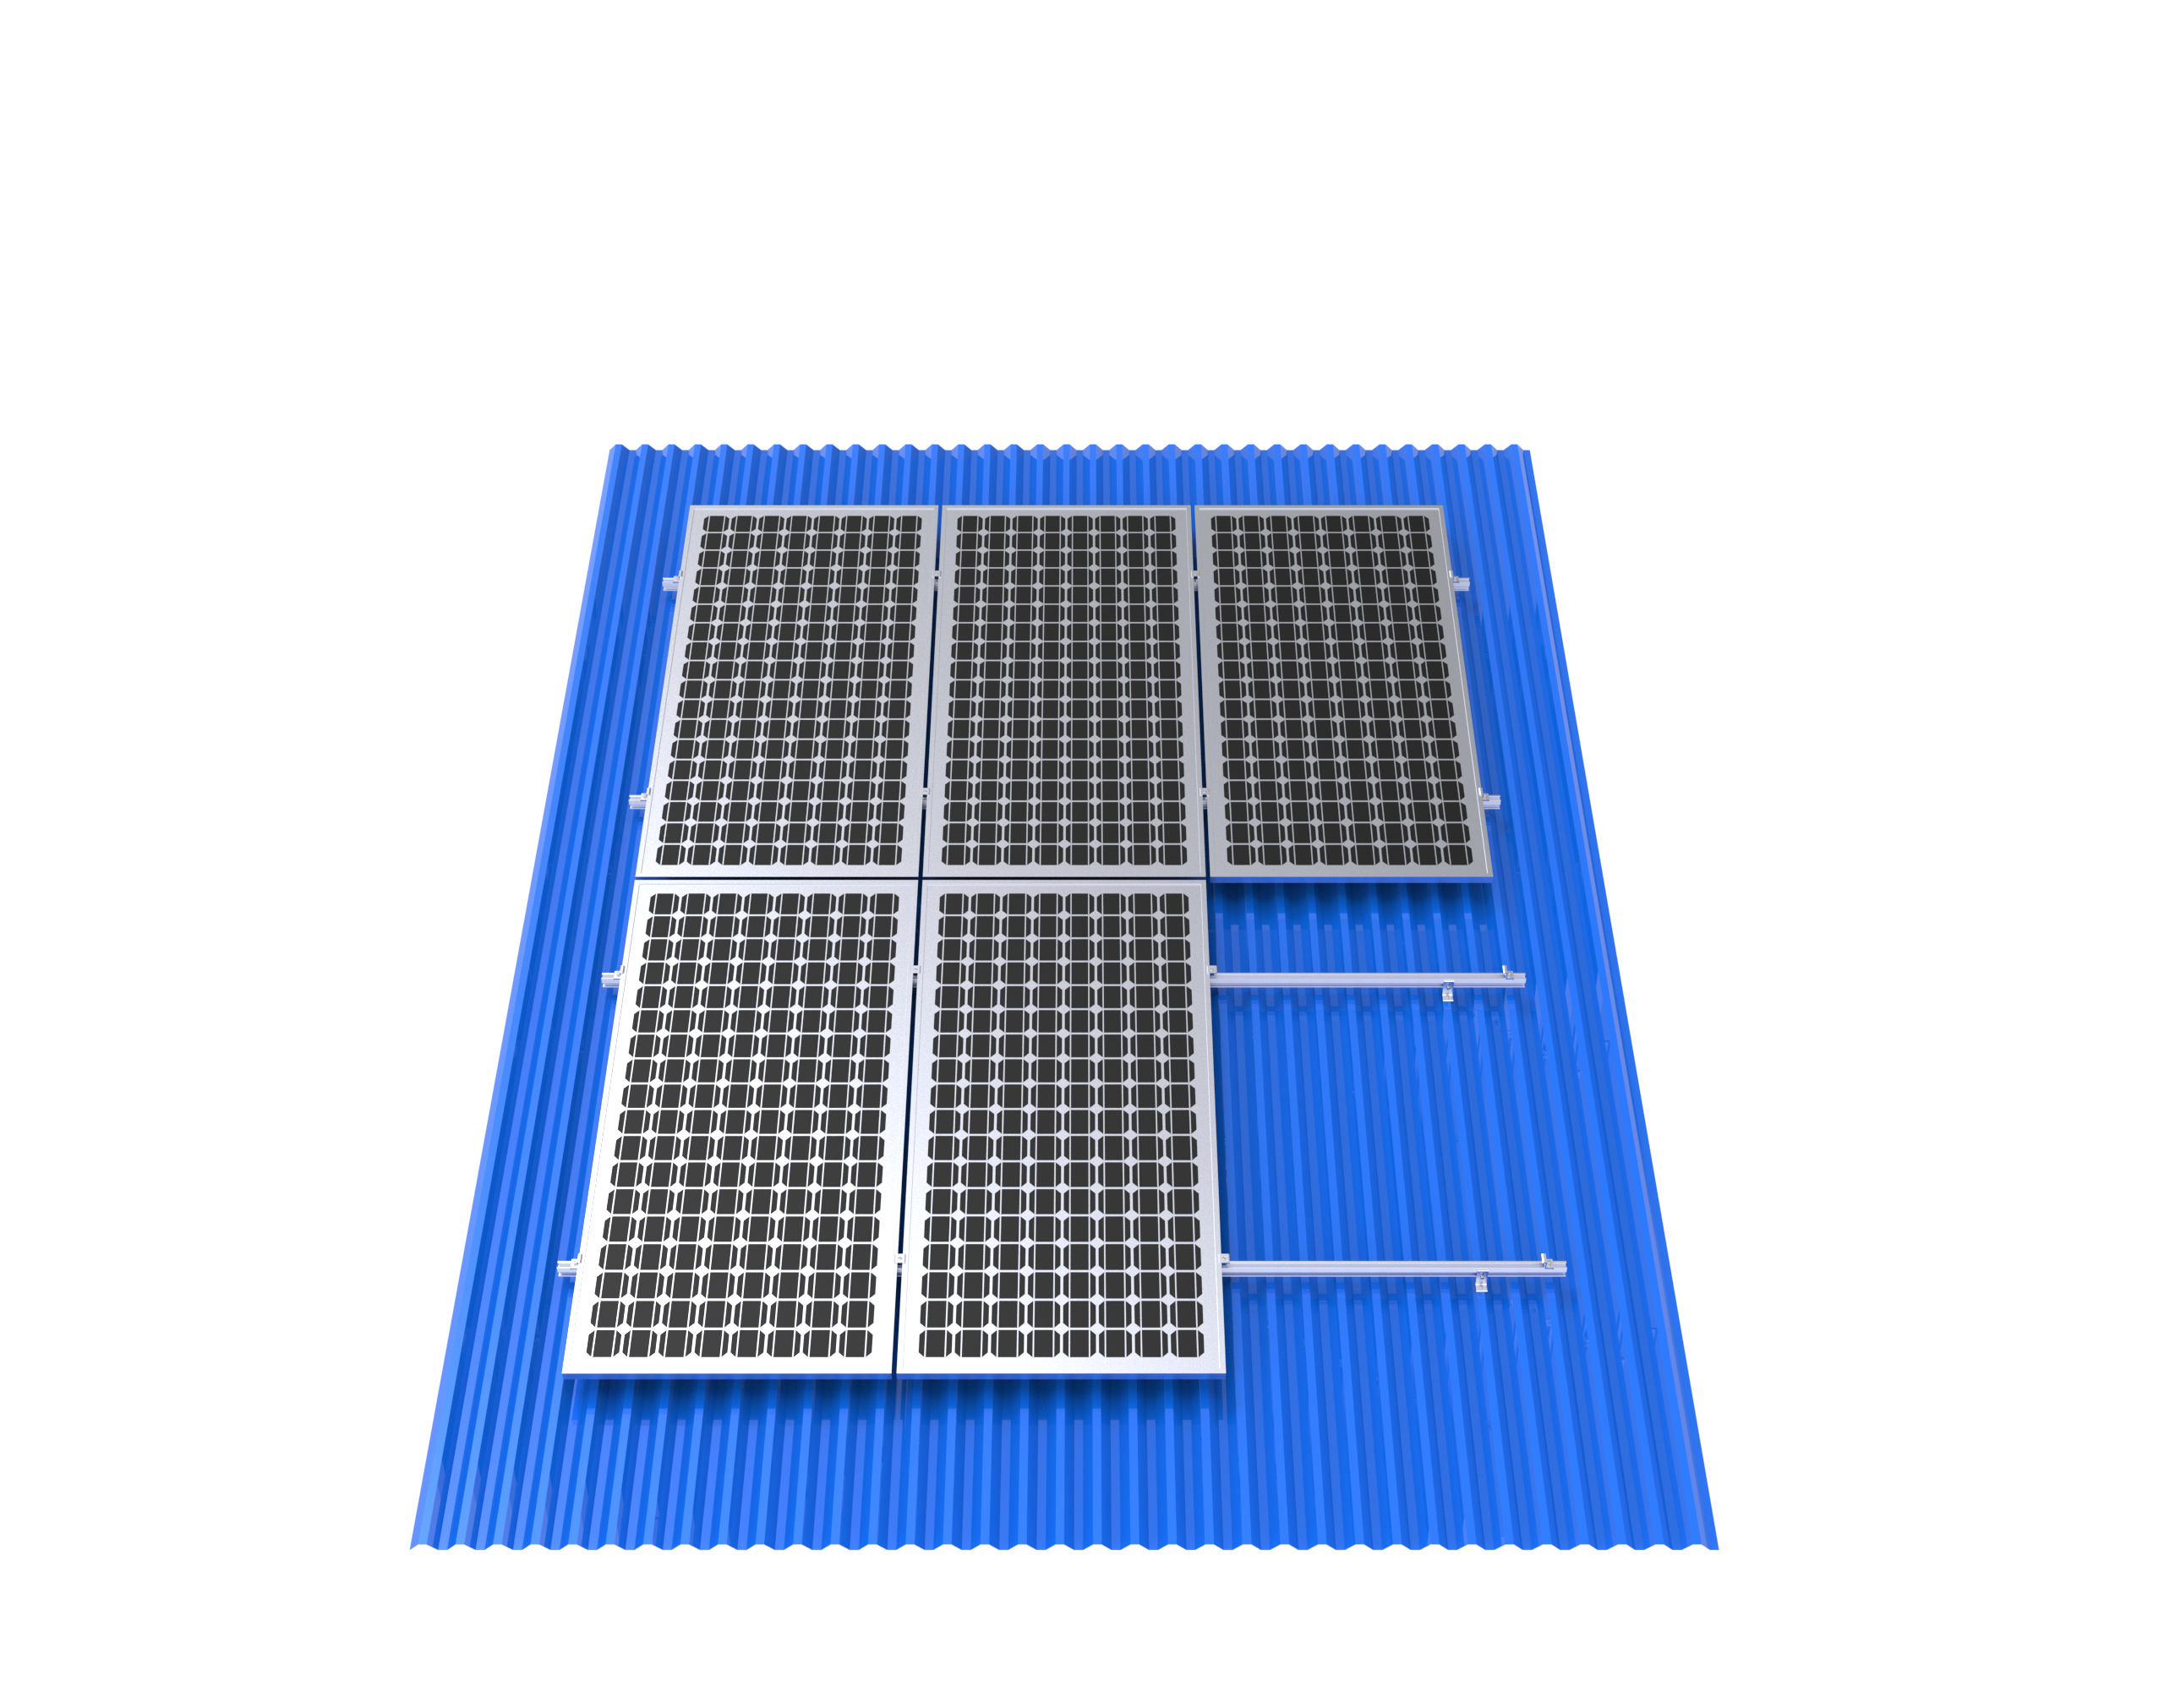
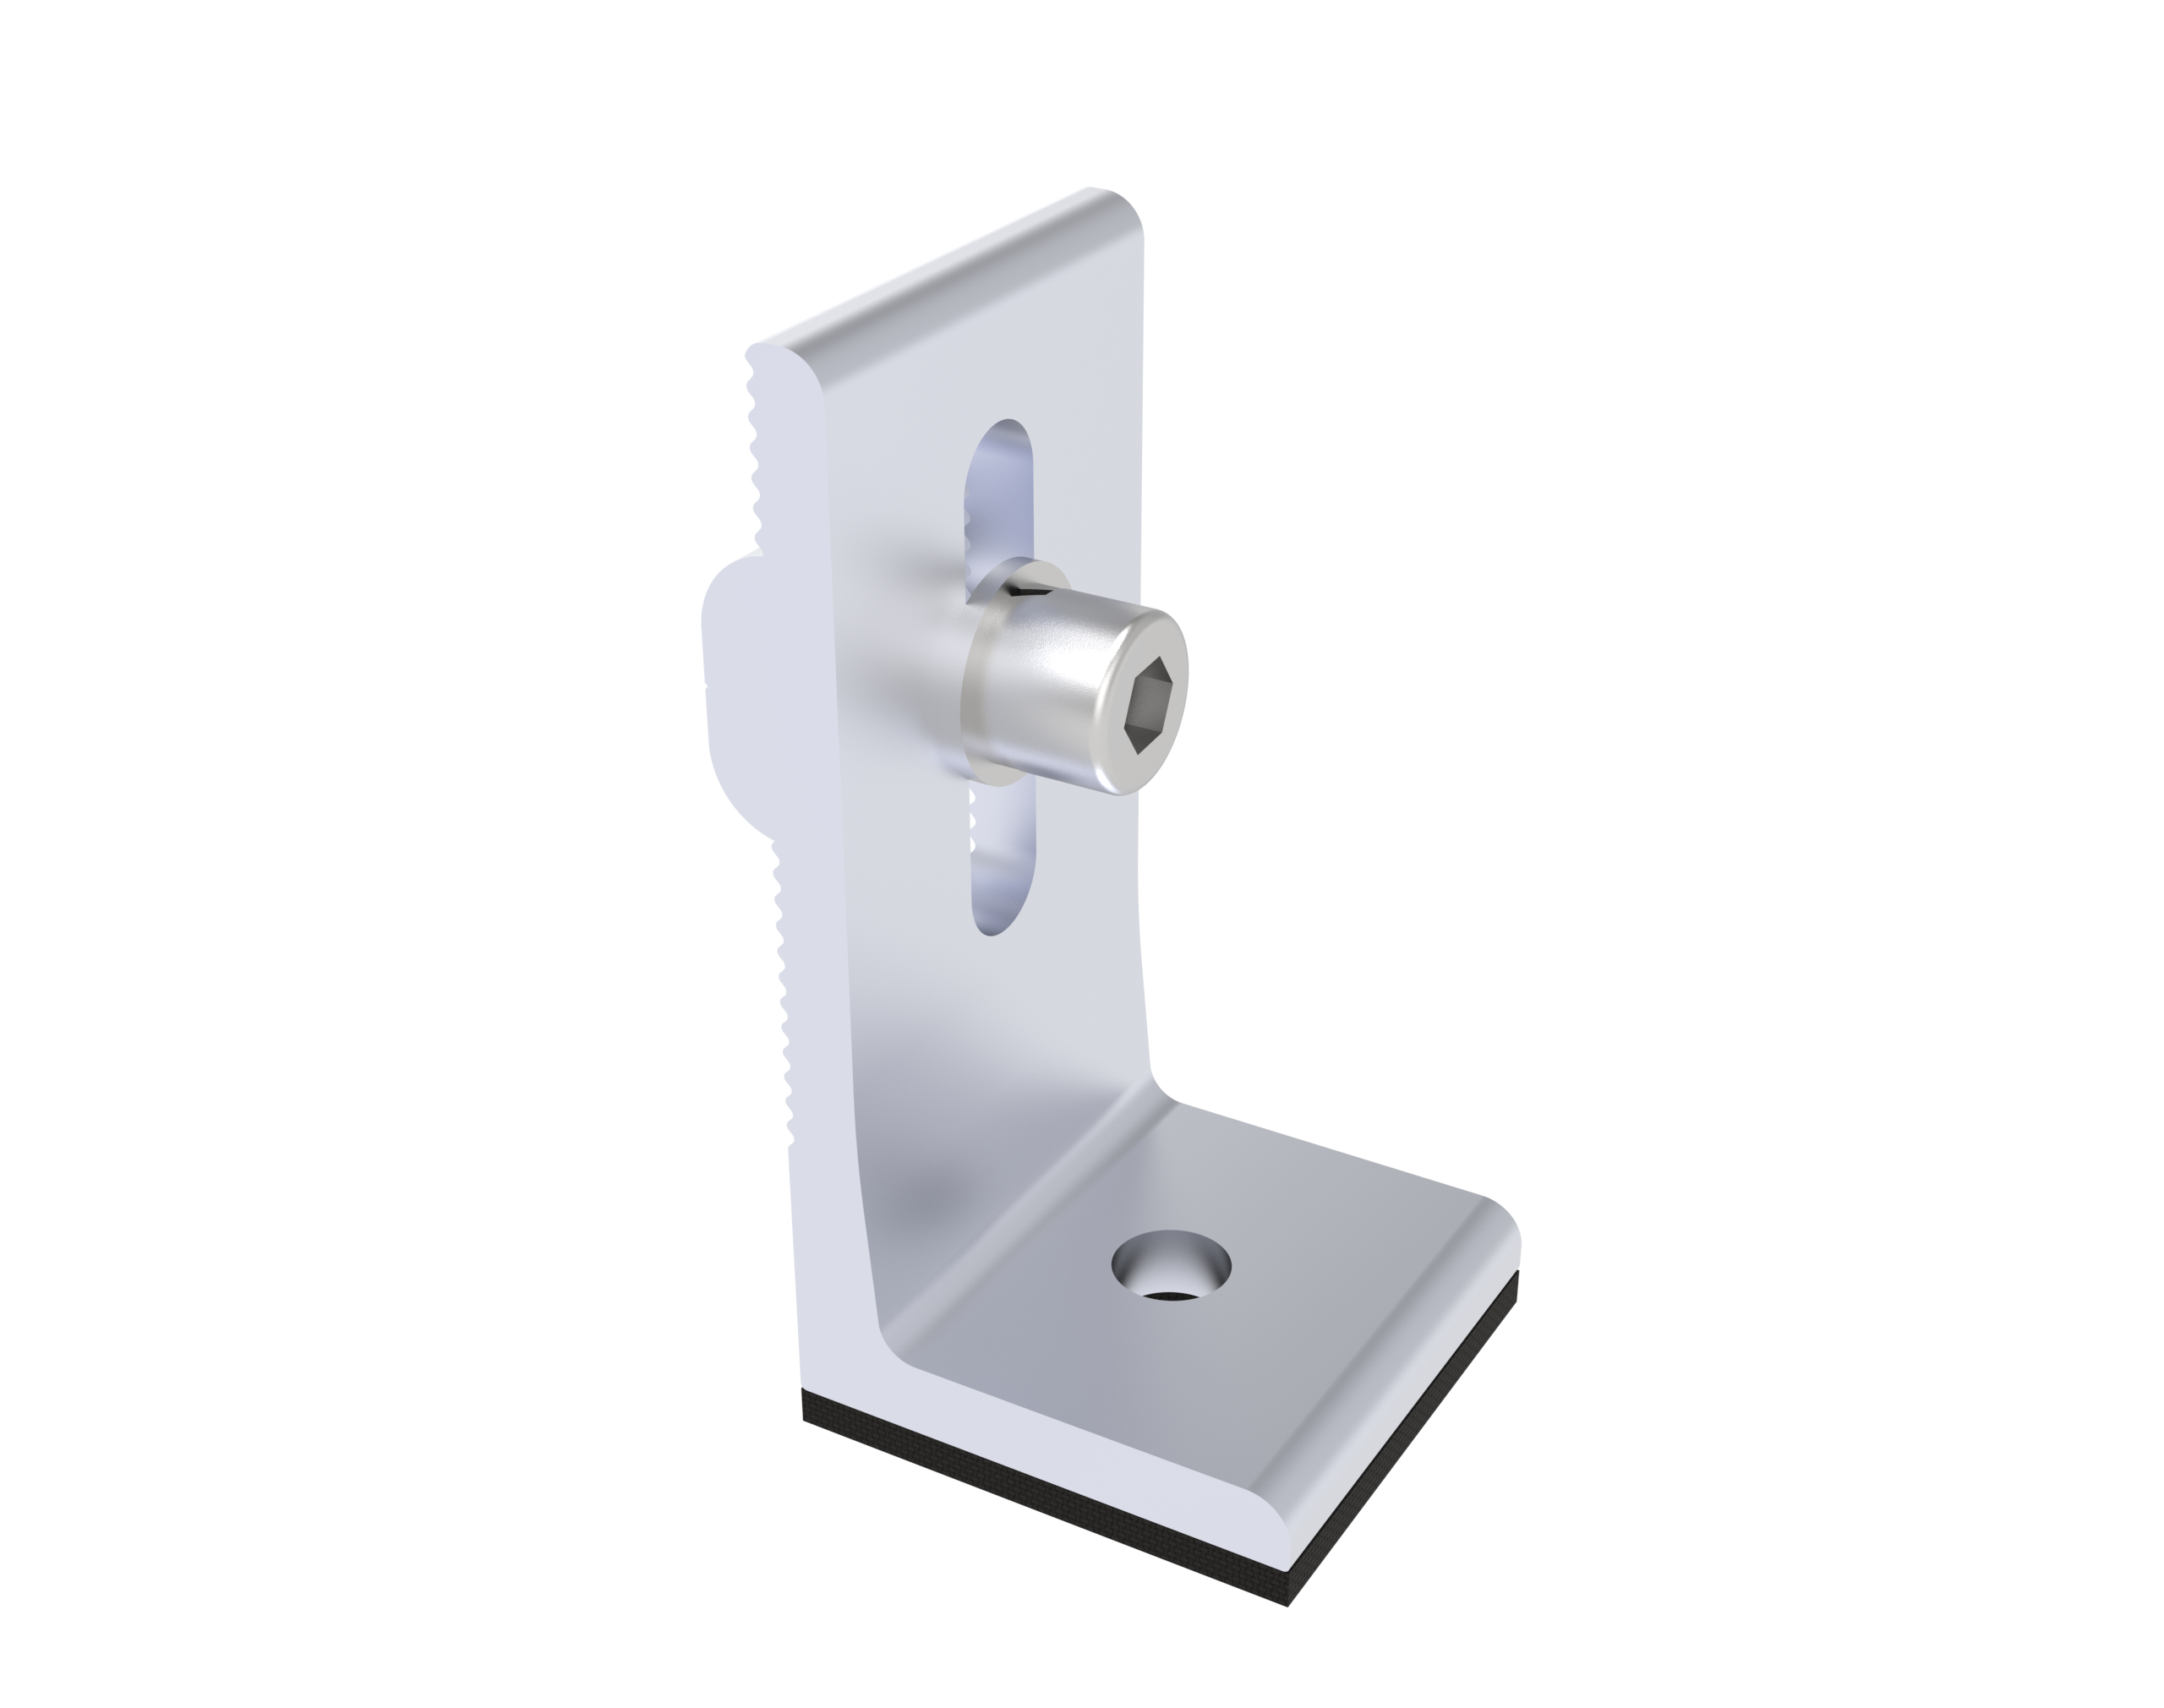
L-Feet for metal roof solar mounting structures ( L feet and rails )
The specific type of L-foot used is determined by the style of the metal roof. The two main categories are:
1.L-Feet for Through-Fastened (Batten, Corrugated) Metal Roofs
The Critical Challenge: Waterproofing
Since you are creating new holes in the roof, the installation of the L-foot and its waterproofing is the most important part of the job. A proper installation involves a multi-layered sealing strategy:
2. L-Feet for Standing Seam Metal Roofs
On standing seam roofs, the preferred method is a non-penetrating seam clamp. However, an L-foot is still used as the vertical component that connects the clamp to the rail.
Configuration: Clamp + L-Foot + Rail
Critical Engineering and Installation Considerations for L-Feet
You MUST hit the structural purlin underneath the metal roof. Hitting only the metal panel is structurally unsafe and will lead to failure. Installers use magnetic purlin finders or carefully measure from the roof's seams to locate the exact center of the purlin.
2. Wind Uplift Calculations
This is the most critical engineering factor. The L-foot, its attachment point (bolt or clamp), and the spacing between them are all calculated by a structural engineer to resist the specific wind uplift forces for that building's location and height. The mounting pattern (how many feet per rail) is not arbitrary; it's based on these calculations.
3. Thermal Expansion and Contraction
Metal roofs expand and contract significantly with temperature changes. The mounting system must accommodate this movement to avoid stress on the roof and the racking.
4. Corrosion Compatibility
Using the correct materials prevents galvanic corrosion:
1.Locate and Mark: Use a purlin finder to locate the center of the structural purlin. Mark the drilling points.
2.Prepare the L-Foot: Ensure the pre-applied butyl tape is intact. If not, apply a high-quality sealant tape to the bottom of the foot.
3.Drill the Pilot Hole: Drill a pilot hole through the metal roof panel and into the purlin. The hole size is critical—it must match the lag bolt specifications to allow for proper thread engagement without being too loose.
4.Install Flashing (if used): Slide a metal or composite flashing under the roof panel's rib, centering it on the hole.
5.Place the L-Foot: Position the foot over the hole, ensuring it is aligned correctly.
6.Secure with Lag Bolt: Drive the stainless steel lag bolt through the L-foot and into the purlin with an impact driver, torquing it to the manufacturer's specification. Overtightening can strip the hole; undertightening won't create a proper seal.
7.Apply Sealant: Apply a high-quality exterior sealant (like polyurethane or silicone) over the head of the lag bolt and around the base of the L-foot where it meets the roof, creating a watertight "dome." This is the secondary weather seal.
Leading Brands and Systems
Conclusion
The humble L-foot is a deceptively simple component that carries immense responsibility. For metal roofs, choosing the correct type—penetrating or clamp-based—and executing a meticulous, watertight installation is non-negotiable for the system's longevity, performance, and the integrity of the building itself. It is the critical link that ensures a solar array will remain securely fastened and leak-free for decades.